
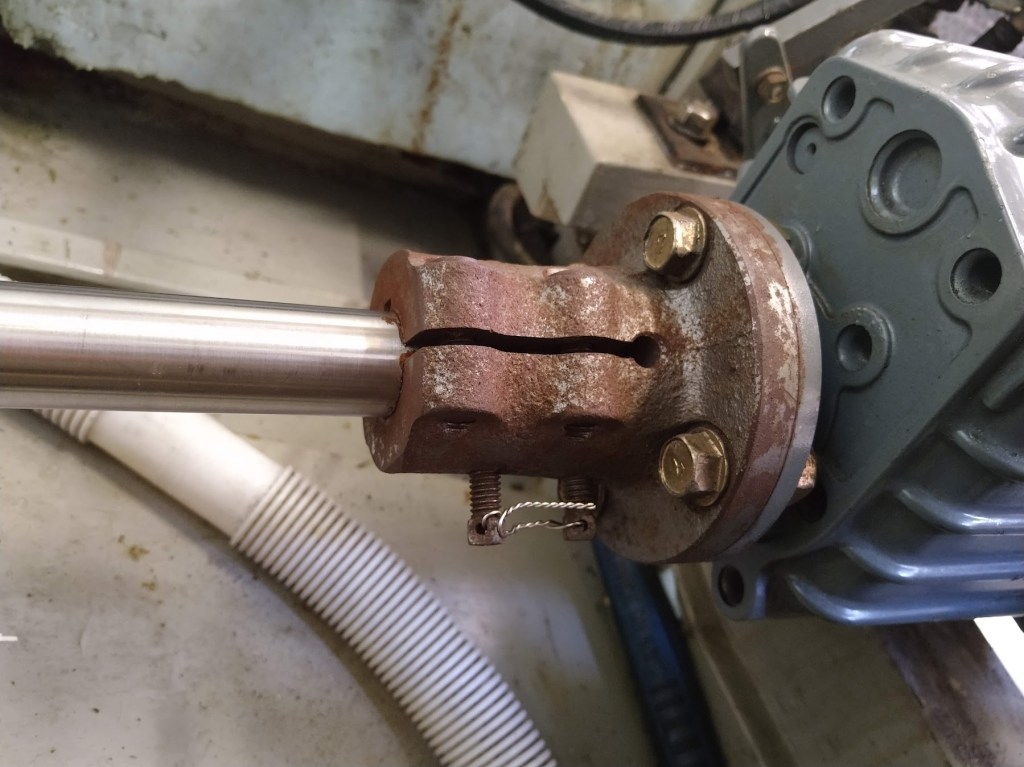
For a couple of years now I have been observing the rust accumulation on the engine mounts. Looks nasty and it’s a pain to keep cleaning up. But on closer inspection I could not see any structural failure and the rubber inserts appeared to be OK. So I just convinced myself that it was a cosmetic issue and everything was working well under the surface. Recently I had noticed that the engine was moving around on the mounts more than normal, the change may have been ongoing slowly so I hadn’t picked it up sooner. Worn engine mounts cause more engine movement, the symptoms were there.
Anyway, I decided that the mounts had to be changed and set about finding some replacements. Shock horror at the price of new Yanmar engine mounts. I took to google to do some research. There is a wealth of opinions and experiences both good and bad with Yanmar alternative engine mounts. After some filtering out of information I decided to go with some mounts manufactured in Europe. They were significantly less expensive than the Yanmar factory mounts and had one hundred percent positive feedback form people who had used them.
After parting with some hard-earned beer tokens the new mounts arrived from Europe. They looked and measured exactly like the same as the original mounts. The quality looked good but I noticed the paint covering the steel was not too thick. The first job I did was to give the new mounts a further few protective coats of paint over the metal, don’t want any premature rust showing up.
My plan for changing out the mounts was to do one at a time, starting on the forward mounts as they were the easiest for learning on. Before removing the mount, I carefully measured the distance from the bearer to the hanger, I could then install the new mount with the same measurement. The mounts would be removed with the hangers attached. It was easier to remove the hangers from the engine still attached to the mounts. Also, I wanted to refurbish the hangers as they were looking a bit sad.
Before starting on removing the mounts I disconnected the shaft from the gearbox. Lack of space made this more difficult than it should be but all went well. I also removed the shaft coupling as it was a but rusty and needed some treatment and refurbishment.
To hold the front of the engine up I placed a timber strongback over the companionway entrance and used a rope and Spanish windlass arrangement. By tightening the Spanish windlass I could lift the engine sufficiently to remove the mount. A bottle jack under the engine or chain block to lift and hold the engine work as well. In practice I found that when a mount was removed the engine would sit happily on three mounts without any support.

The first mount was surprisingly easy to remove. This was encouraging, I reminded myself that this was the mount with the easiest access.

The other front mount detached quite easily as well. To remove the rear two mounts I didn’t use the Spanish windlass as I found I could lever up the engine with a bar sufficiently to remove the mounts. The rear mounts were more difficult to remove due to the tight access. A bit more verbal encouragement was needed.

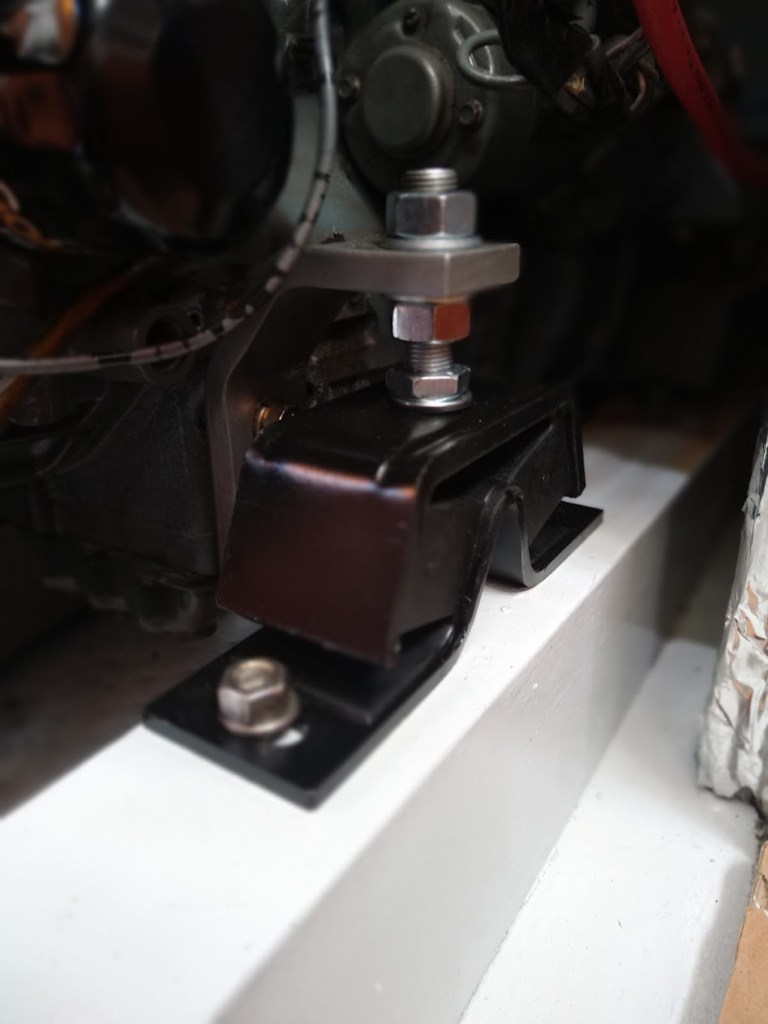
When the old mounts were compared with the new mounts they did look very sad, definitely not a bad decision to replace them. I cleaned up the mounts and coupling the best I could with a drill mounted wire brush and then soaked them overnight in Evapo-Rust (A CRC product). The next day the magic Evapo-Rust had done its job and the parts were clean with no visible rust. This is the first time I have used this product; it works.

I spray painted the coupling and hangers with primer and then a topcoat of engine enamel and finally a baking cure in the oven. They came out looking good.
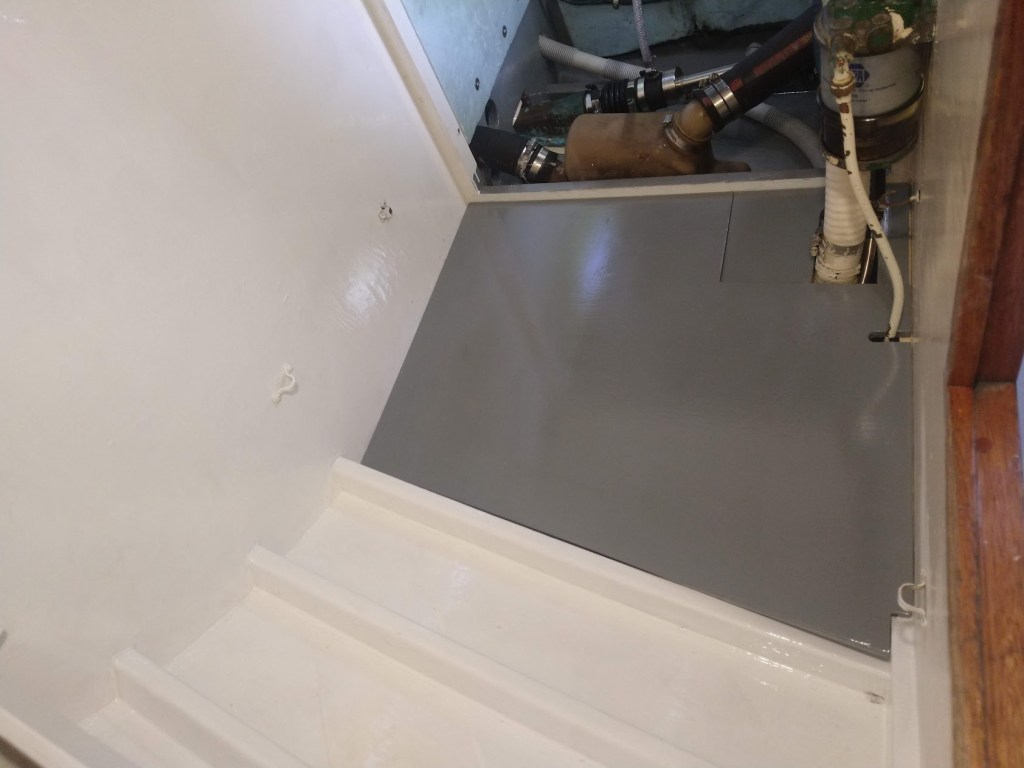
Before fitting the new mounts, I cleaned up the bearers and gave them a fresh coat of paint while had I had the opportunity of access. I also took the opportunity of cleaning out the bilge behind the engine and giving it a fresh coat of paint. Fitting the new mounts was a simple reverse of the removal procedure. Again, the rear mounts being trickier due to the cramped space.
Before refitting the coupling to the shaft, I took the opportunity to replace the dripless seal bellows. Its recommended to change the bellows every six years. The existing bellows have only been on for five years but as the shaft is disconnected it seems a good opportunity. I also replaced the raw water discharge hose to the shaft seal with a stronger braided hose that’s more suitable for use below the waterline, its not shown in the photo below. I now have peace of mind for another six years.
I refitted the coupling to the shaft, making sure and double checking I had the keyway and pin bolts positioned correctly before tightening up. The coupling was then presented to the shaft ready for alignment.

Two days later the engine alignment is done. What a mission! I could have done the alignment in a couple of hours if I had had a helper and started out making big adjustments then decreasing to small adjustments. A lot of time was wasted crawling from the space behind the engine to the front of the engine and vice versa. Also, by making small adjustments to the mounting I confused myself and got into a cycle of adjustments cancelling out previous adjustments. By using bigger adjustments, the results would be more readily apparent. Anyway, the job got done and I am a bit wiser.

Once I had the engine aligned, I tightened up the flange coupling to the gearbox and applied some indicator paint to all the mounting bolts. Indicator paint will enable me to do quick visual checks on any movement of the securing nuts.
It was with trepidation that I started the engine up. I shouldn’t have worried; all looks and sounds wonderful. The engine runs quieter and does not bounce around on the mounts like it used to do. The horrible wobble at low RPM’s has disappeared and it sits rock solid at higher RPM’s.

Discover more from The Adventures of Captain Ray Penson
Subscribe to get the latest posts sent to your email.

Looks like a job well done. Certain amount of satisfaction when undertaking these “little “ jobs . That’ll do for a few more years. Off to Spain for the winter next week. Will send photos of any caravan repairs!😎👍
LikeLike
Ah, the land yacht, Enjoy the warm weather
LikeLike
Ray,
Not surprisingly, since we have the same engine, most likely installed about the same time, I must do engine mounts this coming spring when I return to the boat in Homer.
Could you send me info on the supplier you used for the mounts? Though my mounts look quite a bit different than the mounts you have.
In 2021, I replaced the cutlass bearing, had the shaft straightened, the dripless surfaces polished and the prop balanced. It made quite a difference.
Best
LikeLike
Hi John, great to hear from you. I purchased the mounts from https://www.parts4engines.com/yanmar-3gm-engine-mount/
The simple video on this site is good and gives confidence.
https://www.ellebogen.com/en/yanmar-engine-mount-replacement-marine-engine-yanmar-2gm20/
Good luck and do some yoga to get the body flexible before starting😊
LikeLike
I thought that license of yours stated Master Mariner, not Chief Engineer? Good job my friend.
LikeLike
Hi Mark, A sailor on a budget has to be prepared to take on the engineers’ role sometimes. A dirty stinky job but someone’s got to do it! The only downside is that I can’t blame the bloody engineer when it goes wrong. Hope you are keeping well old man.
LikeLike